
티스토리 뷰
기본적인 API와 동작을 만들었으니 화면에 그려보겠습니다.
Mustache 사용 준비하기
Mustache는 build.gradle에 의존성 추가를 하고
implementation 'org.springframework.boot:spring-boot-starter-mustache'
IDE(IntelliJ)에 Mustache 플러그인을 설치한다면 쉽게 이용할 수 있습니다.

Mustache 문법
공식 문서(영어) http://mustache.github.io/mustache.5.html
mustache(5) - Logic-less templates.
mustache(5) Mustache Manual mustache(5) NAME mustache - Logic-less templates. SYNOPSIS A typical Mustache template: Hello {{name}} You have just won {{value}} dollars! {{#in_ca}} Well, {{taxed_value}} dollars, after taxes. {{/in_ca}} Given the following ha
mustache.github.io
잘 정리해 놓은 국내 블로그 https://bibi6666667.tistory.com/269
[템플릿 엔진] mustache 기본 문법
mustache 기본 문법 정리하기 복잡하지 않으므로 공부 및 연습해 본다! 공식페이지..를 번역한 블로그를 보고 공부했습니다. 1. 변수 {{, }} 사이에 변수명을 입력한다. 문자열은 자동 HTML 이스케이프
bibi6666667.tistory.com
화면을 그리다 보면 데이터나 화면 구성에 따라 어쩔 수 없이 Mustache.js를 필요로 할 수도 있습니다.
"Mustache delimiter" 관련하여 찾아보면 되고, 관련하여 스택오버플로 하나 남기겠습니다.
https://stackoverflow.com/questions/24741825/how-to-change-the-default-delimiter-of-mustache-js
How to change the default delimiter of mustache.js?
Could someone please tell me how to change the default delimiter for mustache.js? The default delimiter is {{var}} and I would like to change it to {|var|} I have the following code: $('body').ap...
stackoverflow.com
Front에서 동적으로 클릭 시 데이터를 구성해야 할 때, js로 mustache template 만들고 delimiter 추가하여 render 했던 기억이 있네요.
여기서 꽤 많은 삽질을 했었습니다.
Mustache로 화면 그리기
빠르고 편한 작업을 위해 부트스트랩과 템플릿을 적극적으로 이용하겠습니다.
부트스트랩 템플릿 https://getbootstrap.com/docs/5.2/examples/
Examples
Quickly get a project started with any of our examples ranging from using parts of the framework to custom components and layouts.
getbootstrap.com
저번 게시글에서 API를 총 3개 만들었습니다.
1. 게시글 목록 조회
2. 게시글 조회
3. 게시글 추가 (미완성)
각 API에 맞는 화면도 그려보겠습니다.
중복되는 Layout 공통화하기
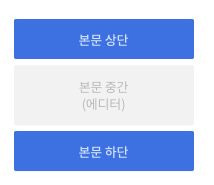
일반적인 화면 구조입니다.
가운데 보이는 "본문 중간" 부분을 제외하고는 거의 비슷한데요.
이 부분을 따로 빼서 모든 페이지마다 작성할 필요 없이 가져다 쓰는 방식으로 하면 매우 편리합니다.
'header'와 'footer'로 나누겠습니다. 욕심이 있다면 'sidebar'나 다른 것들을 추가해도 됩니다.
| package jellyinghead.board.common; | |
| import org.springframework.stereotype.Controller; | |
| import org.springframework.web.bind.annotation.GetMapping; | |
| import org.springframework.web.servlet.ModelAndView; | |
| @Controller | |
| public class CommonController { | |
| @GetMapping(value = {"", "/"}) | |
| public ModelAndView index() { | |
| ModelAndView mav = new ModelAndView(); | |
| mav.setViewName("index"); | |
| return mav; | |
| } | |
| } |
| <!doctype html> | |
| <html lang="en"> | |
| <head> | |
| <meta charset="utf-8"> | |
| <meta name="viewport" content="width=device-width, initial-scale=1"> | |
| <title>BOARD</title> | |
| <link href="https://cdn.jsdelivr.net/npm/bootstrap@5.2.2/dist/css/bootstrap.min.css" rel="stylesheet" integrity="sha384-Zenh87qX5JnK2Jl0vWa8Ck2rdkQ2Bzep5IDxbcnCeuOxjzrPF/et3URy9Bv1WTRi" crossorigin="anonymous"> | |
| </head> | |
| <body> | |
| <nav class="navbar navbar-expand-lg bg-light"> | |
| <div class="container-fluid"> | |
| <a class="navbar-brand" href="/">Jellying</a> | |
| <button class="navbar-toggler" type="button" data-bs-toggle="collapse" data-bs-target="#navbarSupportedContent" aria-controls="navbarSupportedContent" aria-expanded="false" aria-label="Toggle navigation"> | |
| <span class="navbar-toggler-icon"></span> | |
| </button> | |
| <div class="collapse navbar-collapse" id="navbarSupportedContent"> | |
| <ul class="navbar-nav me-auto mb-2 mb-lg-0"> | |
| <li class="nav-item"> | |
| <a class="nav-link" href="/anonymous-posts">익명 게시판</a> | |
| </li> | |
| </ul> | |
| </div> | |
| </div> | |
| </nav> |
| {{>anonymous_board/layout/header}} | |
| {{>anonymous_board/layout/footer}} |
header.mustache
본문 위까지 모든 코드를 다 넣었습니다.
footer.mustache
본문 다음부터 모든 코드를 다 넣었습니다.
index.mustache
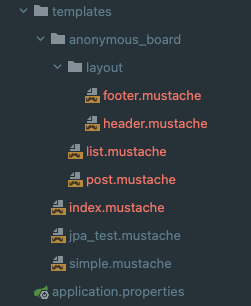
layout은 눈에 띄지 않게 directory를 하나 생성하여 몰아넣어 두었습니다.
CommonController.java
index 화면을 보기 위해 추가해 두었습니다.
mustache 파일 작성하기
게시글 목록 조회
"/anonymous-posts" API를 이용하여 화면을 그리겠습니다.
mav.addObject("anonymousPost", anonymousService.getAnonymousPost(postId));
API를 호출하면 값을 'anonymousPost'를 통해 내려주는데요. 이 값을 화면 그리는 데에 사용하겠습니다.
| {{>anonymous_board/layout/header}} | |
| <div class="col-lg-10 mx-auto p-3 py-md-5"> | |
| <table class="table table-hover table-striped"> | |
| <thead> | |
| <tr> | |
| <th scope="col">번호</th> | |
| <th scope="col">제목</th> | |
| <th scope="col">작성자</th> | |
| <th scope="col">작성일</th> | |
| </tr> | |
| </thead> | |
| <tbody> | |
| {{#anonymousPosts}} | |
| <tr> | |
| <td> | |
| {{#isNotice}}공지{{/isNotice}} | |
| {{^isNotice}}{{id}}{{/isNotice}} | |
| </td> | |
| <td> | |
| <a href="/anonymous-posts/{{id}}">{{title}}</a> | |
| </td> | |
| <td> | |
| {{writer}} | |
| </td> | |
| <td> | |
| {{createdAt}} | |
| </td> | |
| </tr> | |
| {{/anonymousPosts}} | |
| </tbody> | |
| </table> | |
| </div> | |
| {{>anonymous_board/layout/footer}} |
그리고 서버를 띄운 다음에 http://localhost:8080/anonymous-posts/ 로 접속을 하면
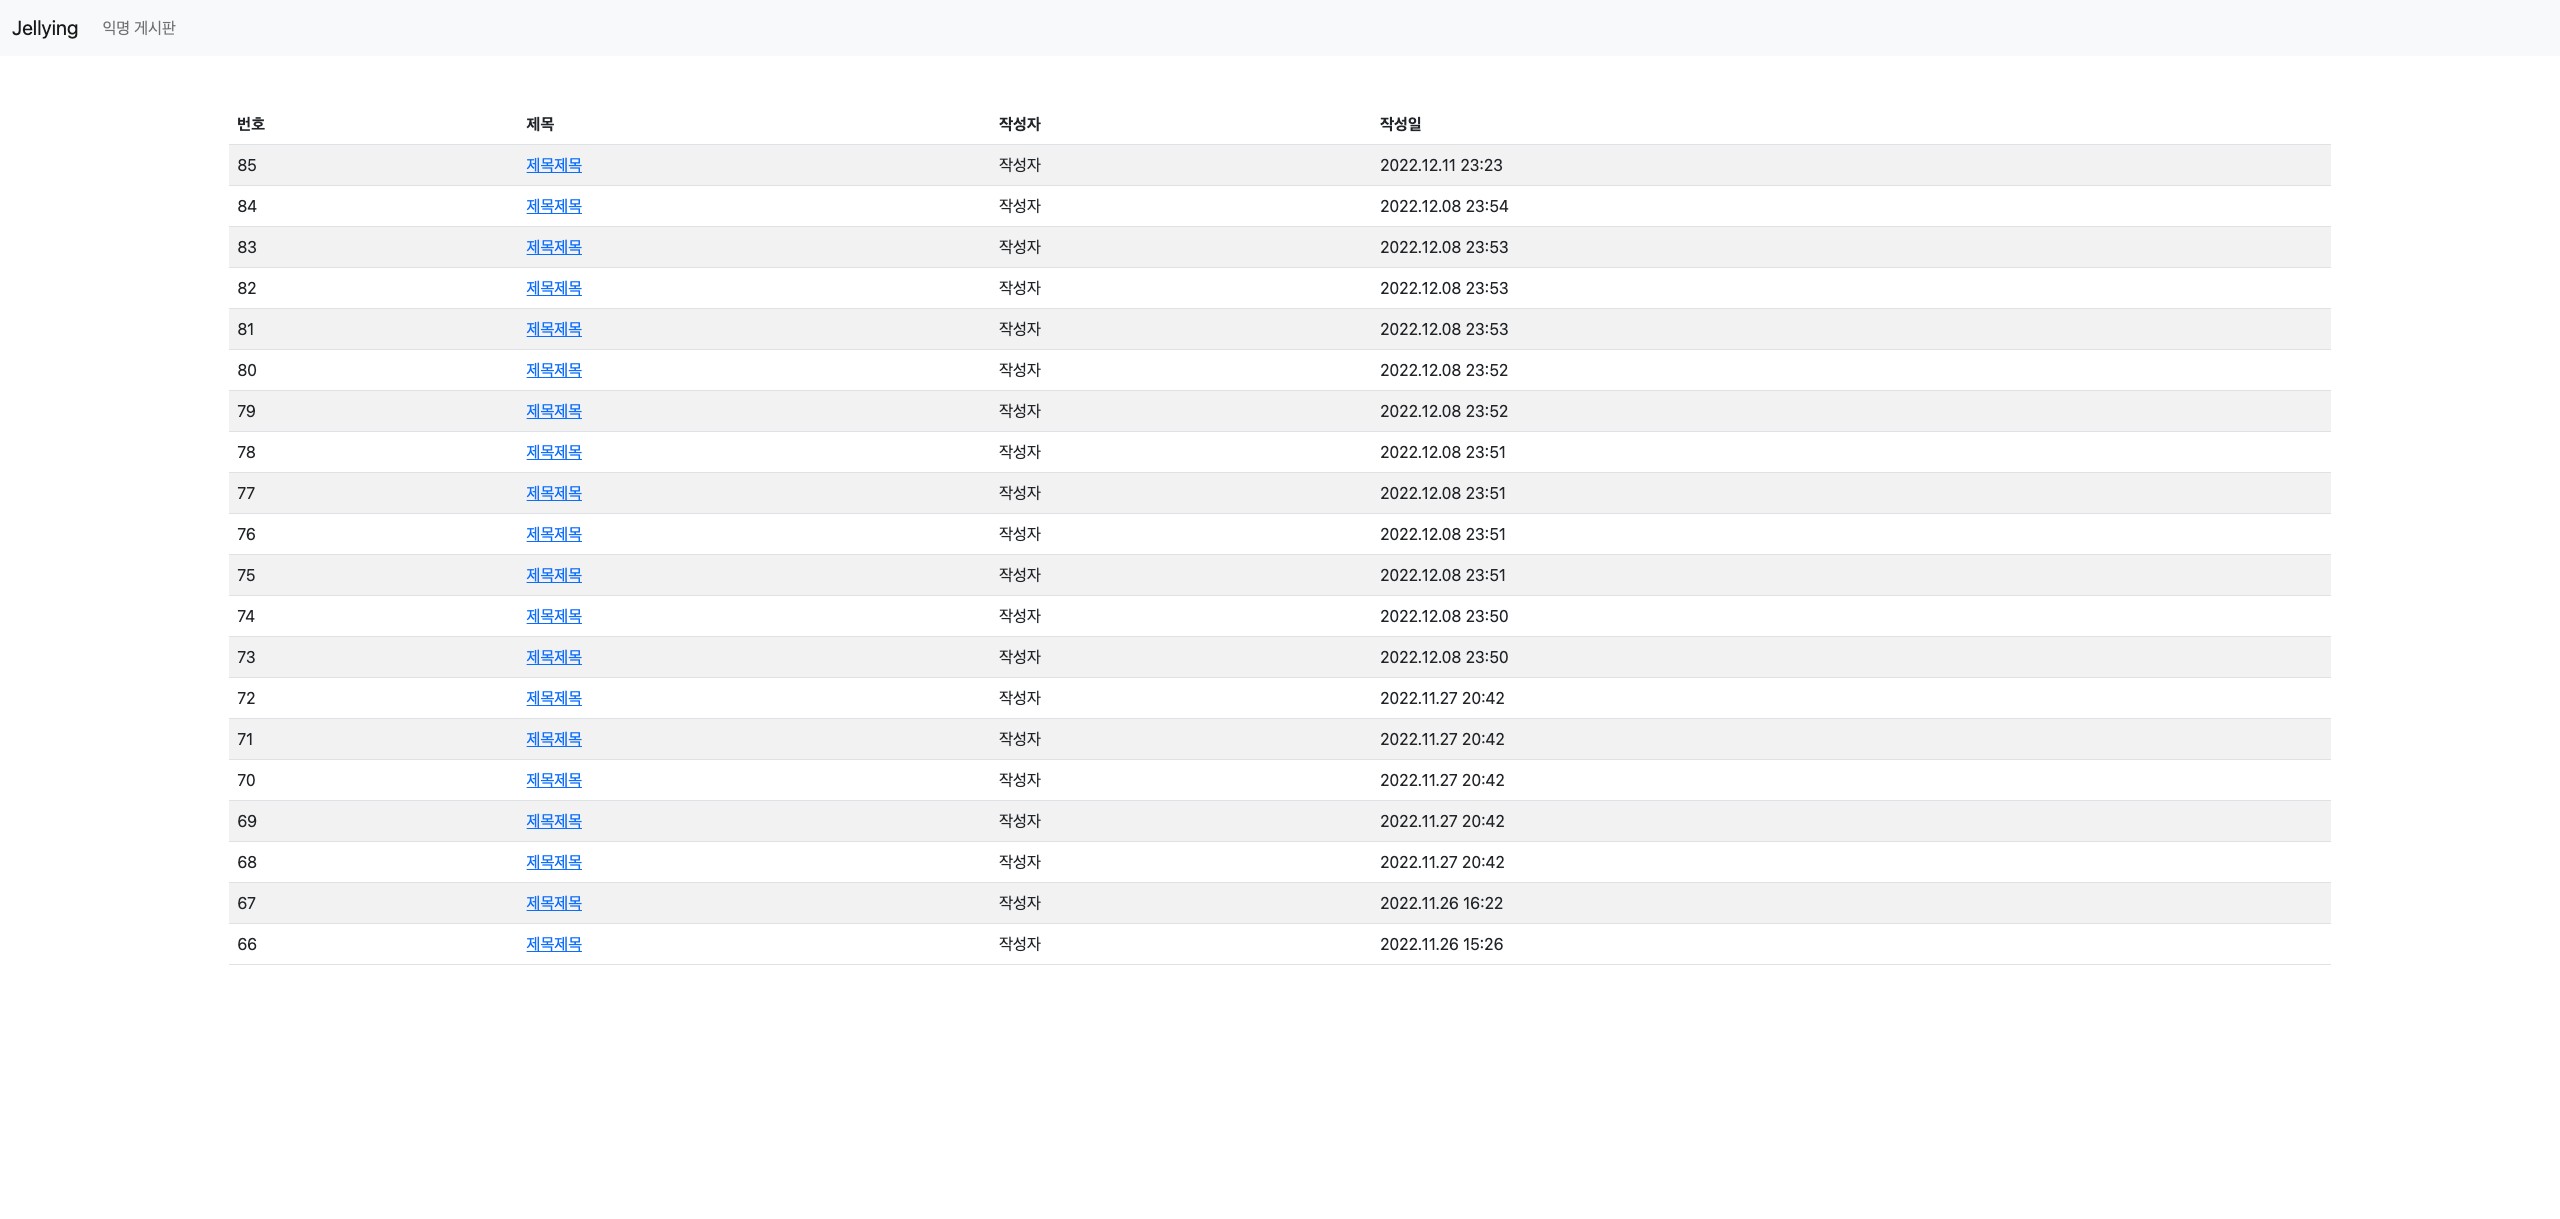
화면이 나옵니다.
게시글 조회
다음으로는 게시글 목록에서 제목을 클릭하면 나오는 게시글 조회 페이지를 만들겠습니다.
"/anonymous-posts/{post_id}" API를 이용하겠습니다.
mav.addObject("anonymousPost", anonymousService.getAnonymousPost(postId));
값을 'anonymousPost'를 통해 내려주고 있습니다.
| {{>anonymous_board/layout/header}} | |
| <div class="col-lg-10 mx-auto p-3 py-md-5"> | |
| <header class="d-flex align-items-center pb-3 mb-5 border-bottom"> | |
| <div class="align-items-center text-dark text-decoration-none"> | |
| <div class="h2"> | |
| {{#anonymousPost.isNotice}} | |
| <span class="badge rounded-pill text-bg-danger">공지</span>{{/anonymousPost.isNotice}} {{anonymousPost.title}} | |
| </div> | |
| <div> | |
| {{anonymousPost.writer}} | |
| {{anonymousPost.createdAt}} | |
| </div> | |
| </div> | |
| </header> | |
| <main> | |
| <div class="postData"> | |
| {{anonymousPost.body}} | |
| </div> | |
| </main> | |
| </div> | |
| {{>anonymous_board/layout/footer}} |
작성 후 제목을 클릭하면..
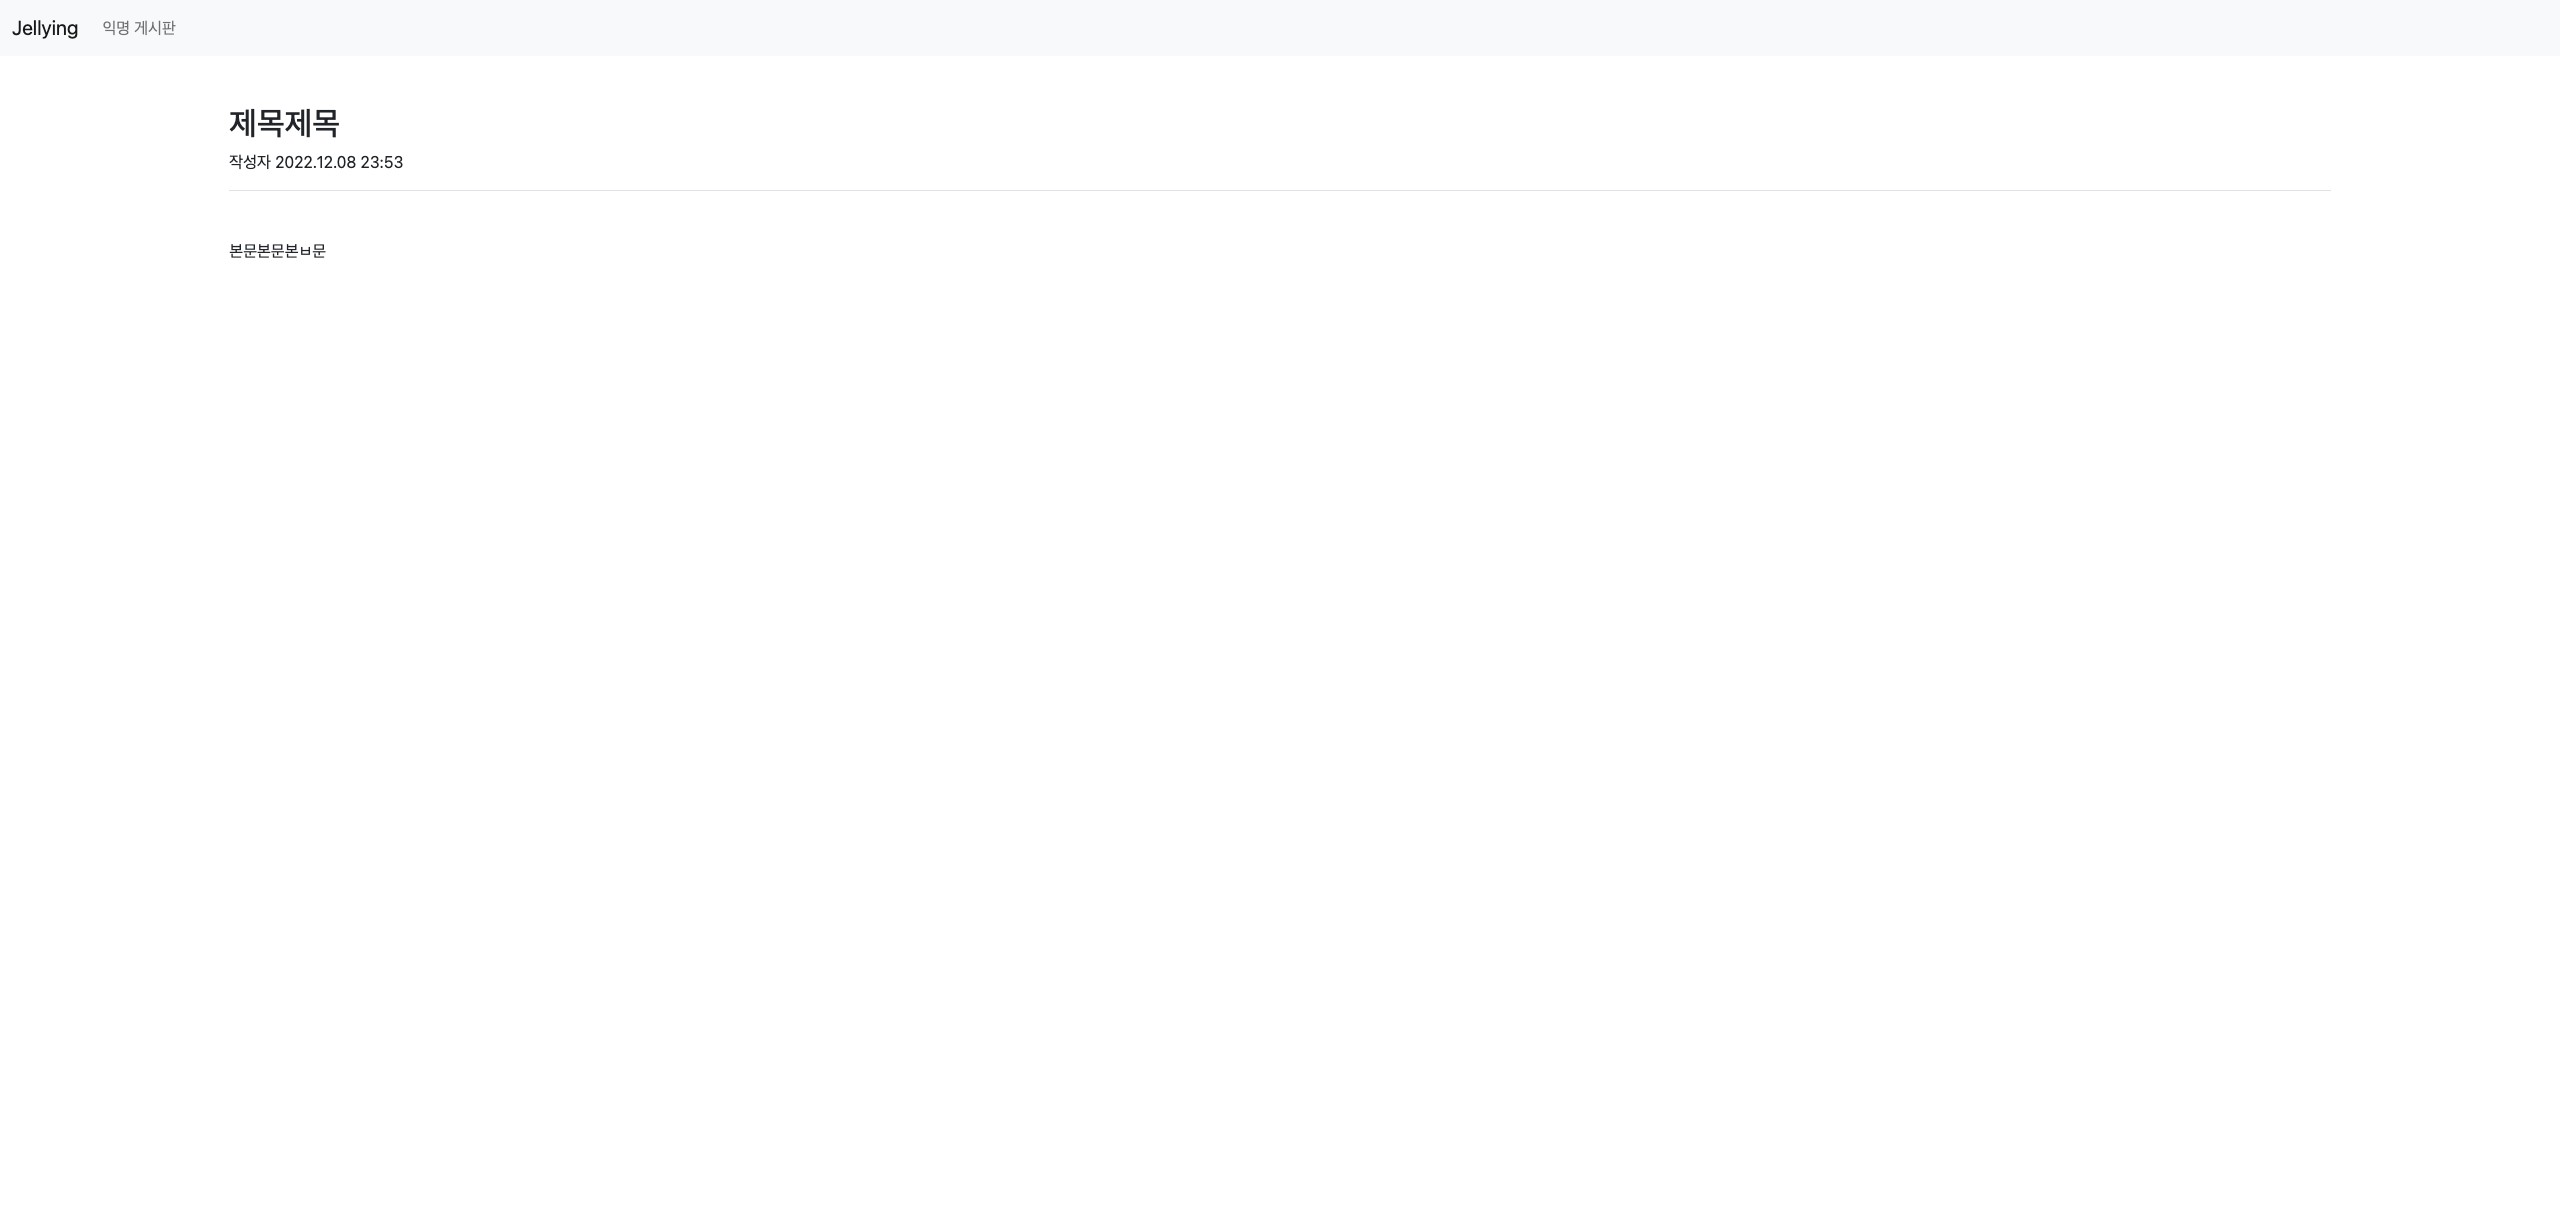
위 페이지가 나옵니다.
게시물 작성 페이지도 작업 후 올리도록 하겠습니다.
'웹 - Legacy > Spring' 카테고리의 다른 글
| Spring Boot로 게시판 만들기 (글 작성하기 페이지 추가) (0) | 2022.12.18 |
|---|---|
| Mustache Config (Formatter를 통해 데이터 format 설정하기) (0) | 2022.12.11 |
| Spring Boot로 게시판 만들기 (게시물 생성, 조회) (2) | 2022.11.27 |
| Spring Boot로 게시판 만들기 (테이블 설계) (2) | 2022.11.22 |
| Spring Boot로 게시판 만들기 (JPA) (4) | 2022.07.02 |